The Ultimate Guide To Hiking Mailbox Peak
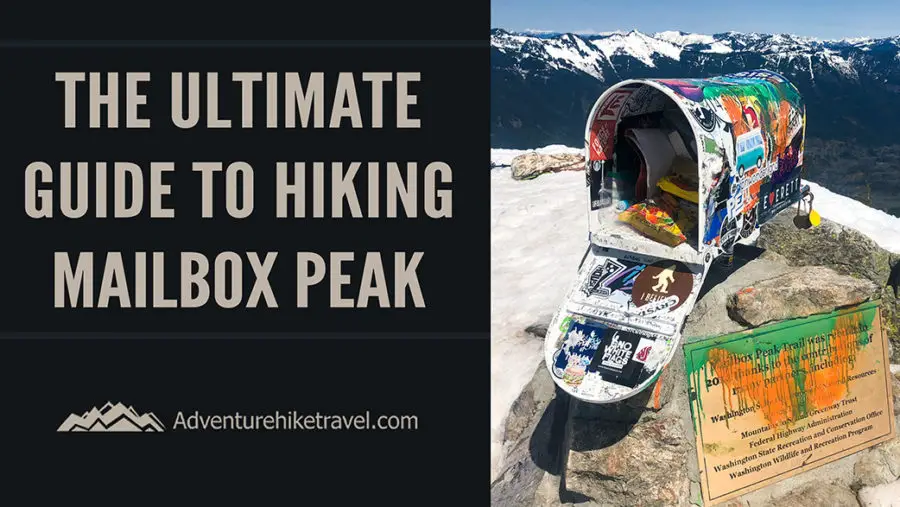
If you are in search of a good leg-burner, Mailbox Peak is the hike for you! With over 4,000 feet of elevation gain this hike is flat-out brutal. Despite being a quad and knee killer, the panoramic 360 degree views from the top are beautiful. There is also the fun novelty of checking the mail on top of a mountain. Seeing what unique trinkets have been left inside the mailbox, make each tortuous step worth it!

Did You Know That Mailbox Peak Has Two Trails?
One of the first things to note before planning a trip up Mailbox Peak is that there are two trails. There is the Mailbox Peak - New Trail and the Mailbox Peak - Old Trail, also referred to as the Mailbox Peak ( Primitive Trail). Both trails start out of the same parking lot and many hikers turn this hike into a loop by hiking the old trail up and coming down the wider more maintained new trail.

Mailbox Peak - New and Old Trail
Elevation Gain: 4000 Feet or 1,219.20 Meters Highest Point: 4841ft Difficulty: Hard Dog's Allowed: Yes Trail Type: There-and-back or Loup Congestion: High Seasons: Year-round (Expect Snow and Ice in Winter) Parking Pass: Yes Discover Pass
Mailbox Peak - New Trail
Distance: 9.4 miles, roundtrip
Mailbox Peak - Old Trail
Distance: 5.4 miles, roundtrip


Hiking Mailbox Peak Old Trail
The Mailbox Peak - Old Trail is a rugged 5.4 mile round trip hike that is basically just a savage climb up 4,000 feet. At points on this hike you will be scrambling up at a 40% to 60% angle with eroded soil and exposed roots. Lots and lots of roots everywhere! When hiking this trail take special care where you place your feet so you don't slip. Since this trail was insanely sketchy and had so many injured and lost hikers, a new trail was built in 2013 and opened to the public in 2014.
Getting To The Old Trail:
To get to the Mailbox Peak Old Trail, you will just need to hike past the trailhead for the New trail a bit. After a few minutes of walking you will see the sign for the Old Trail on your left in addition to many signs and advisories about the old trail put up from the King County Sheriff and Search and rescue. Be sure to read the signs before going up or you can always just take the new trail.
The Start of Mailbox Peak - Old Trail History
The Old Trail got it's start 4th of July Weekend in 1960 when Carl Heine, a local Seattle postman who in his free time was working as the the head director of Valley Camp, lugged a mailbox to the summit as a fun challenge for the teenagers at the camp. Heine had a notebook in the mailbox that the kid's could sign when reaching the top. Since then many people have flocked up this crazy steep trail to see the mailbox and experience leaving mail for someone else on a mountain peak. Over time Mailbox Peak gained popularity becoming more and more well known in Washington State. At one point in time there was also a heavy red fire hydrant, and an aluminum ladder on mailbox peak brought up most likely as training for the Washington State Patrol's Fire Training Academy that is located nearby the mountain.

Hiking Mailbox Peak New Trail.
The 9.4 mile New Mailbox Peak trail was created and opened to the public in 2014 in response to the sheer number of search and rescues called in to King County. The Mailbox Peak Old Trail, also now commonly known as the Mailbox Peak (Primitive Trail), was never made to any regulated standards. In addition to being insanely steep, the old trail was badly eroded, exposing dangerous roots resulting in many injuries to inexperienced hikers. Many hikers were not able to follow the more rugged terrain and got lost. The Mailbox Peak New Trail still has an impressive 4000 Feet of Elevation gain. It is just dispersed over a longer less treacherous trail that is less likely to destroy your knees. The New Mailbox Peak Trail is well groomed and much wider than the old trail, not to mention much easier to navigate.
The Mailbox Peak New Trail start's out with an easy bit of elevation gain with a wide winding trail through the forest. Soon you will steadily start gaining elevation with switch back after switch back, gaining approximately 850 feet a mile. There is a cute wooden bridge crossing over a small stream and nice forest. The trail is basically 4 miles of just trudging up hill at about a 20 to 25% angle incline before joining with the Mailbox peak old trail.
Talus Feild After The Trails Merge
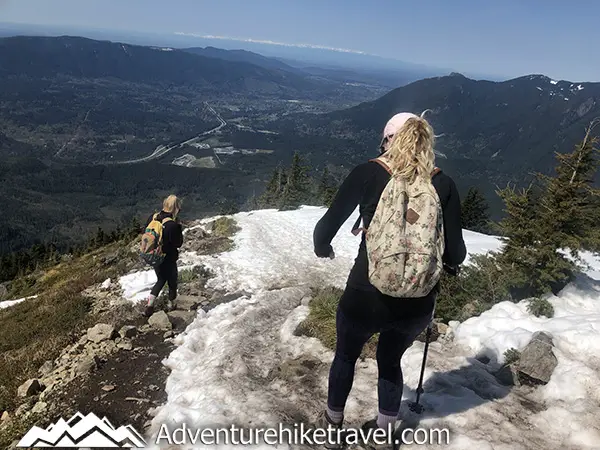
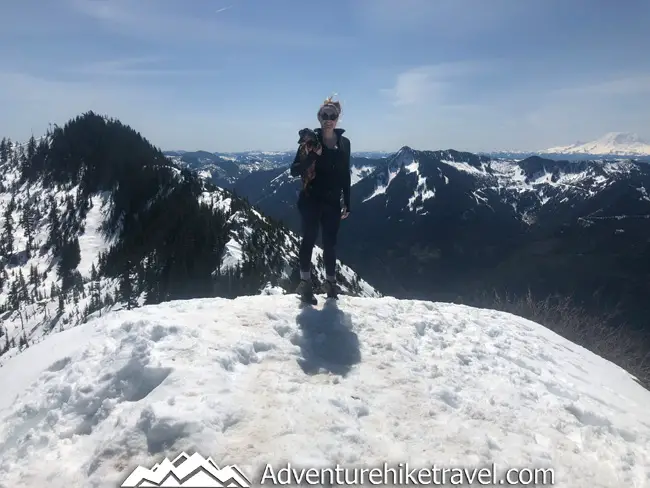
After merging with the Mailbox Peak old trail you will continue up a large boulder field and do the final push up 960 feet of elevation gain in under a half mile. Be sure to watch your footing as some of the boulders are a bit shaky as you step on them and it would be quite easy to twist an ankle here. This is the point where you finally start getting views of the entire Middle Fork Snoqualmie River Valley and Mt. Rainier.
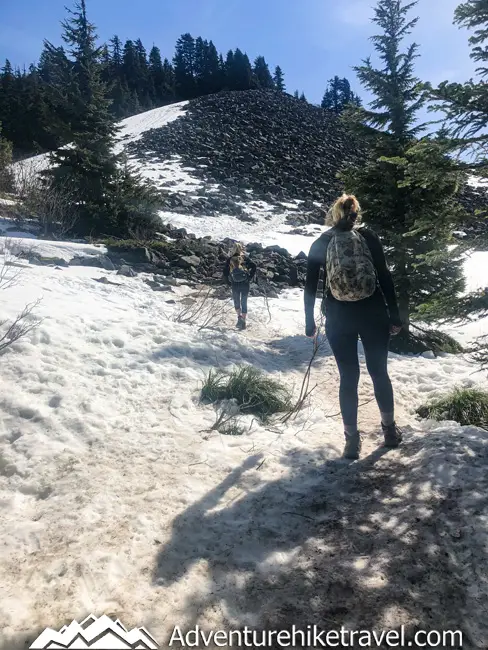
In the picture's above you can see where the trail first starts to open up to the Talus field. Beyond this first boulder garden there is one more large rock scramble up to the summit with the Mailbox.
Mailbox Peak Summit!
Bring Something to Leave in the Mailbox
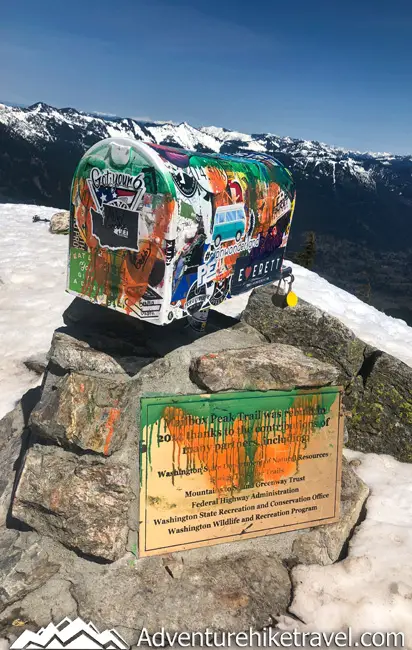
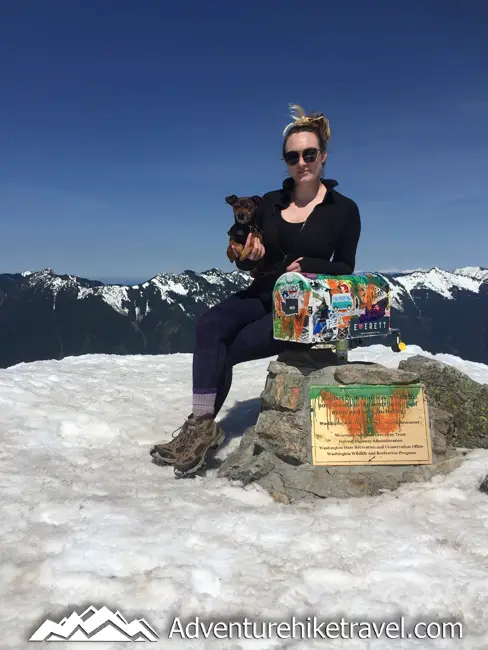
One of the best things about hiking Mailbox Peak is seeing what surprises are waiting for you in the mailbox. You never know what will be inside. There are some letters dating back 20+years, stickers, toys, and a wide range of random treasures, and sometimes if you are lucky, even beer! Inside the mailbox is also a Ziplock bag containing a summit register. In this spiral bound journal you can sign your name, date, where you are from and leave a fun note for others to see. It's always interesting to see what others have written. Do not leave food in the mailbox or items that can easily corrode. When I went there was some melted candy that had gotten the bottom of the mailbox a bit sticky. Another general unspoken rule is if you take something out of the mailbox, you should leave something else behind in the mailbox for the next hiker.

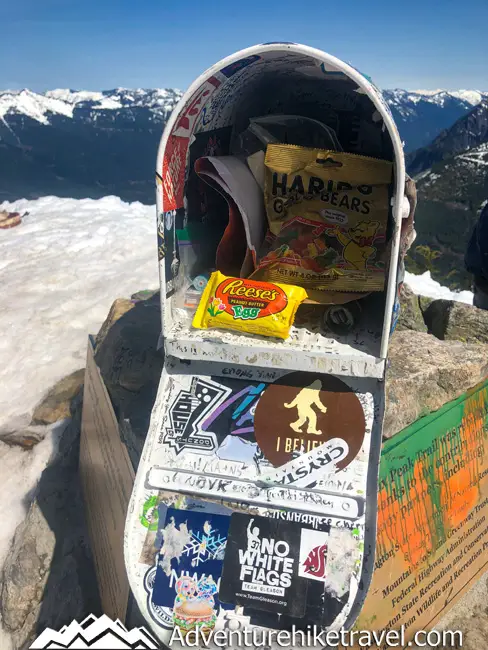
Different Mailboxes
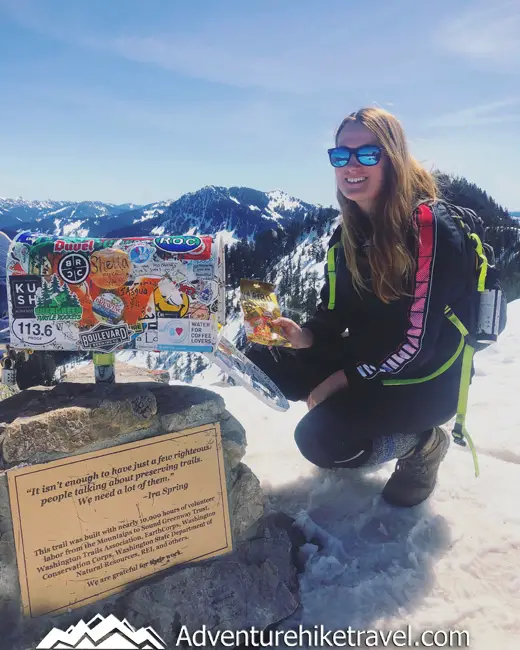
Over the years, due to natural wear and tear from the elements and vandals, the mailbox at the top has been replaced many times. Over the past several years it seems as though the mailbox is replaced about once a year.
LOCATION: Snoqualmie North Bend
Mailbox Peak is located off of I-90 between the Snoqualmie Middle-fork and Southfork drainage systems near the town of North Bend. Only an hour drive from Seattle, this cool destination is an extremely popular hike. Beware of crowds. If you are looking for solitude this is not the hike for you. But If you are looking for a fun place to hike with a great social aspect to it, Mailbox Peak is a great choice. It's a fun hiker social spot where people can engage in conversations at the summit while checking the mail.

Training Ground for Bigger Peaks
Within an hour drive from Seattle, the easy access to this challenging hike makes it an ideal training ground for those who plan to summit Mt. Rainier or other large mountain peaks. Many people like to take the Primitive Old trail up to train for elevation gain and take the new trail down to save their knees while going downhill. It's a common saying among hikers here in Washington that If you can hike Mailbox Peak with a 40 Pound Pack on your back 3 days in a row you are in good enough shape to take on Mt. Rainier.

Views From the Top
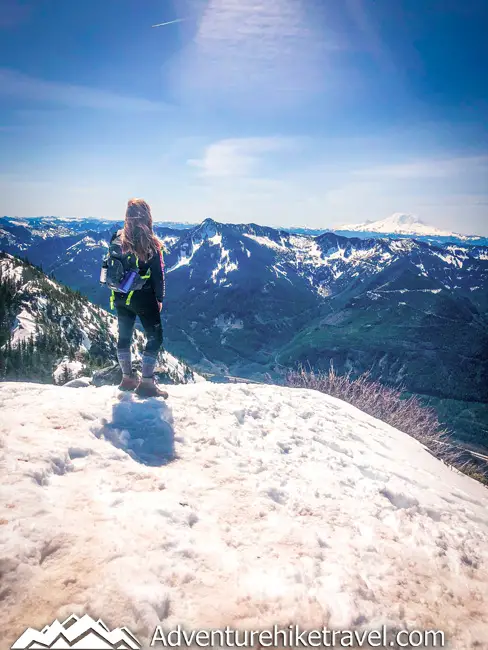
On a clear blue-bird day, you are privy to a gorgeous 360 view of mountains every direction you turn. Mt Rainier is on full display but you can also see Glacier Peak, Bandera Mountain, Mount Defiance, Granite Mountain, and if you squint, maybe even Mt. Pilchuck in the distance.

A bit to the east you can see Russian Butte, Kaleetan Peak, Dirtybox Peak and Dirty Harry’s Peak, in addition to many other mountains in the Middle Fork Snoqualmie River Valley. You can see the vibrant teal waters of Rattlesnake Lake with Rattlesnake ledge above it. While looking that direction you can also make out Mt. Si and Mt. Teneriffe.

Looking south towards Mt. Rainier you can make out the ridge line of McClellan Butte. Across the sound you can see the profile of the Olympics all the way from Mt. Elinor to Mt. Townsend. Besides having a view of the whole valley of I-90 North Bend, you can also see Seattle and Bellevue.
Trailhead Direct
King County Metro and King County Parks collaborated together to create a better public transit system that can connect people to popular hiking trails. This will help with overcrowding of parking lots and help open up hiking to many who may not have had access to trailheads before. This NEW Transit to Trails service is seasonal and only operates on weekends and holidays. The Trail to Transit vans will depart approximately every 20 minutes from North Bend during weekends and holidays.
WEEKEND/HOLIDAY SERVICE ONLY
Transit to Trails Mailbox Peak bus operates 10:30 AM - 6:30 PM on Sunday, Monday, Saturday.
Start and end point: Issaquah Transit Center: 1050 17th Ave NW, Issaquah, WA 98027
For more information such as times and rates visit: https://trailheaddirect.org/mailboxpeak/
For More Metro Information or Assistance You Can Call Customer Service : 206-553-3000
Monday-Friday 6 a.m. to 8 p.m.

Quick Tips:
Get There Early
The parking lots hold around 50 to 60 cars. But since this hike is a popular, spaces fill up fast! Aim to get there early if you want to snag a spot or plan to get there mid-week.
Give Yourself Plenty Of Time
The gate at the parking lot closes daily at 9 PM. If you are arriving at the trail later in the day and do not believe that you will be back at your car before 9 pm, It might be a good Idea to park a little further down the road on the side instead of the parking lot.
Don't Forget To Bring a Discover Pass
Coming back to your car after a long day of hiking to find a ticket waiting for you on your dash is no fun at all. Save yourself the headache and plan ahead.
You can get a Annual Discover Pass for $35 at: https://store.discoverpass.wa.gov/shop/annualpass
or
You can get a One-Day Discover Pass for $11.50 at: https://store.discoverpass.wa.gov/shop/daypass
Geo Catching
For those who like to Geo Catch there is often several hidden catches along this trail. You can check out https://www.geocaching.com/play to find out more info so you can start a treasure hunting adventure.
Bring Lot's of Water
With over 4,000 feet of elevation gain, Mailbox Peak is an extremely taxing hike where you are going to need water. I highly recommend having at a minimum of 2 preferably 3 liters of water on you.
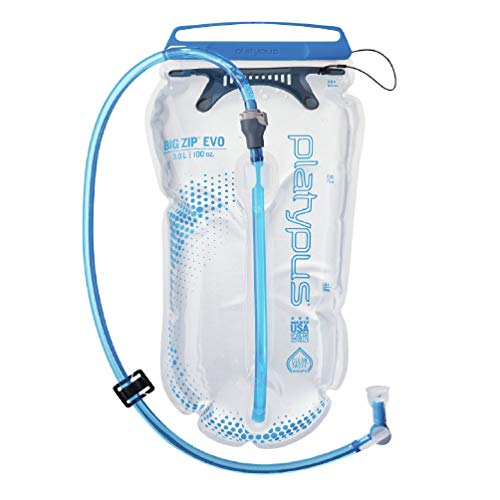
If you do not have a Hydration Backpack or 3L Water Bladder yet. Here are some ideas of what you may like to get before doing this hike!

Bring MICROspike Traction System Crampons
When I hiked up Mailbox Peak it was the end of April and the entire trail from mid mountain onward was a compete and total ice sheet.
The icy mess of a trail did not let up until reaching the rock garden, where the sun had exposed the massive boulders underneath. After crossing through the talus field, the pathway became completely snow covered making the final push to the mailbox much better hiking conditions than the perilously slick ice path we had been dealing with most of the journey up.
If you are hiking Mailbox peak in the prime summer months, you most likely will not need Microspikes. However if you are hiking in the Fall, Winter, or Spring seasons, possibly as late as May or June depending on the snow-pack levels of that year, I highly recommend bringing Microspikes.
For those of you who have never heard of or used Microspikes before you may be wondering what exactly are Microspikes?
Microspikes are basically Ice Cleats for your hiking boots. These handy Anti-Slip Ice Crampons are comprised of rubber or silicone, stainless steel chain, and claws that dig into the ice providing great traction making walking on previously treacherous terrain a walk in the park.
Below are some awesome Microspikes on Amazon. If you would like to pick some up before attempting to tackle Mailbox Peak.
Bring Trekking Poles
Another quick tip is to bring Trekking Poles. During the Winter and Spring the trail is just a steep angled climb on ice. With all the compact ice the conditions can be quite dangerous, where it would be very easy fall and get hurt or possibly slide off a cliff. Injuries are not fun! Just Bring the Trekking Poles.
Even during the summer months when the trail is completely melted out, Trekking poles can be beneficial by helping alleviate pressure off your knees on the downhill, and can assist you with the uphill climb.
If you do not have trekking poles. Here are some links to some of my top picks on Amazon.
Cascade Mountain Tech Carbon Fiber Quick Lock Trekking Poles - Collapsible Walking or Hiking Stick
Hiker Hunger 100% Carbon Fiber Trekking Poles – Ultralight & Collapsible with Quick Flip-Lock, Cork Grips, Tungsten Tips
TrailBuddy Trekking Poles - 2-pc Pack Adjustable Hiking or Walking Sticks - Strong, Lightweight Aluminum 7075 - Quick Adjust Flip-Lock - Cork Grip, Padded Strap
TheFitLife Carbon Fiber Trekking Poles – Collapsible and Telescopic Walking Sticks with Natural Cork Handle and Extended EVA Grips, Ultralight Nordic Hiking Poles for Backpacking Camping
Books That Include Mailbox Peak: That you might want to check out!
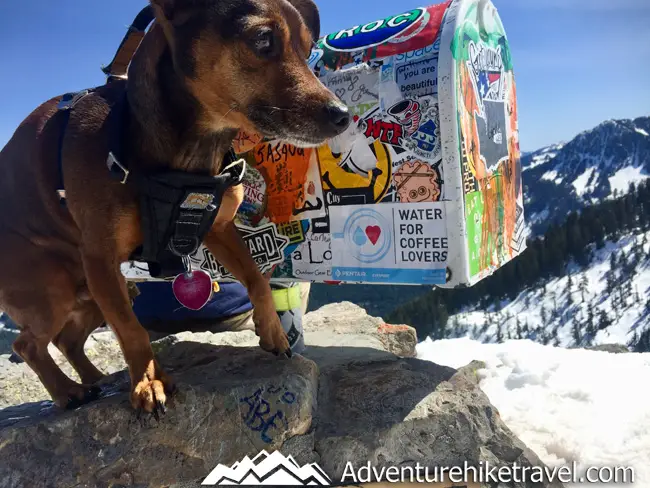
Dogs Friendly: Yes
If you want to bring your 4-legged friend on this hike you can! Dogs are allowed if they are on a leash. One thing to keep in mind is that just like people, not everyone is instantly in shape to tackle 4,000 feet of elevation gain. Make sure your pup is in good enough hiking condition to handle hiking by working up to this elevation gain on other hikes. I have seen people having to carry their dog the entire way down from this hike. So knowing your dog's hiking ability is a good idea. Also don't forget to bring poop bags, a leash, and dog bowl for your pup. Just like people they will get thirsty too!
Daypak Dog Backpack Hiking Gear for Dogs
Collapsible Dog Bowl for Hiking
Pet Waste Bags
Dog Boots for Hiking
Mailbox Peak should be on your Washington State Hiking bucket list.
Co-ordinates: 47.4674, -121.6748
ADDRESS
United States
Driving Directions:
Getting to the Trailhead you will take exit 34 from I-90. Heading North onto 468th Ave SE. You will drive for about a half mile until you reach the intersection with SE Middle Fork Road. When you reach SE Middle Fork Road Turn right onto it driving for about 2.2 miles to the stop sign at the junction with SE Dorothy Lake Road. At the SE Dorothy Lake Road Junction head left onto the SE Middle Fork Road driving another .3 miles. There will be a turnoff to the trailhead on your right. Continue up a short distance to the new paved parking lot with approximately 40 spots and a vault toilet.
If you have any questions or concerns about this hike you can get in touch with the North Bend Ranger Station
Snoqualmie Ranger District - North Bend Office
Location:
902 SE North Bend Way, Bldg 1
North Bend, WA 98045
Operating Hours:
current hours
Phone Number: (425) 888-1421
Driving Directions:
Drive I-90 to Exit 32. Turn north at end of exit ramp. Turn left at "T" intersection on North Bend Way. In approximately one mile, the Ranger Station is on your right.
Other Posts You May Like
25 Fantastic Outdoor Books for Hiking In Washington State
7 Ways to Save Money on Hiking & Camping Gear
LifeStraw Go 2 Water Bottle: Hiking Gear Review
Top 15 Backpacking Water Filters and Purifiers of 2018
Top 30 Best Women's Hiking Boots In 2018
15 Stocking Stuffers for Hikers
65 Fantastic Gift Ideas for Hikers under $20
Want To Fill Your Life With Adventure?
Join our newsletter for an adrenaline-fueled journey! Receive exclusive updates on travel tips, gear reviews, epic hikes, captivating stories, and inspiration to turn your dreams into reality.
Don't just dream it, live it! Get Out There!


